Saturday, April 20, 2013

A Tiny Setback, a Miniature Portrait of Secretariat and a Vintage "Playtown General Store"

When I began this blog, which was quite recently, I had all intentions of hitting it hard. I planned to blog often about so many ideas and products I have; I planned to post great "How-To" intstructions and to share my gifts and talents with others. I got off to very good start I thought, despite the fact I've never blogged before, or really tried to reach out to other people who have similar interests. Then it happened.

The dastardly hacker.

This person, (it must be nice to have nothing better to do than mess around with someones life,) invaded my life and caused quite a disruption. I lost momentum and have only now begun to see a consistent proliferation in my work and personal life. It is difficult not to surrender my power to this malicious and self-serving individual by feeling frustrated but I have chosen to put it all behind me, learn from it and accept, as I always have, that there are those who only take and never give.

To this person, I would like to say that while you have taken your God given life and have chosen to do harm, it is harm that will befall you. After all:


"He harms himself who does harm to another, and the evil plan is most harmful to the planner."
Hesiod (~800 BC), Works and Days 

And so I shall speak no more of this.

This is a miniature Painting I finished Wednesday. It is a portrait of Secretariat, my favorite all-time racehorse. I had a lot of fun painting this and thought it came out rather well for being only the size of a penny!


 I have listed it for sale through my Etsy Shop and on Ebay. Here are the links:

http://www.ebay.com/itm/130890759733?ssPageName=STRK:MESELX:IT&_trksid=p3984.m1555.l2649


https://www.etsy.com/listing/129550836/miniature-painting-champion-thoroughbred?ref=v1_other_2

Here is something a bit different from what I do as a crafter, but it is such a wonderful Vintage miniature. I learned to love and appreciate antique and vintage items of all sizes and thought this fit right along those lines. I hope you like it!

This is a wonderful Vintage "Playtown General Store." Made in the 1950s, it has all the charm of days gone by. I've stocked the shelves with tiny cans of vegetables and fruits, small boxes and cans of Brand name foods and other items I thought should be sold in a general store. There are 86 pieces in all; far too many to show in photos on this blog. If you'd like to see more photos, here are the links

http://www.ebay.com/itm/130893282333?ssPageName=STRK:MESELX:IT&_trksid=p3984.m1555.l2649.


https://www.etsy.com/listing/129951914/vintage-1950s-playtown-general-store?ref=v1_other_1


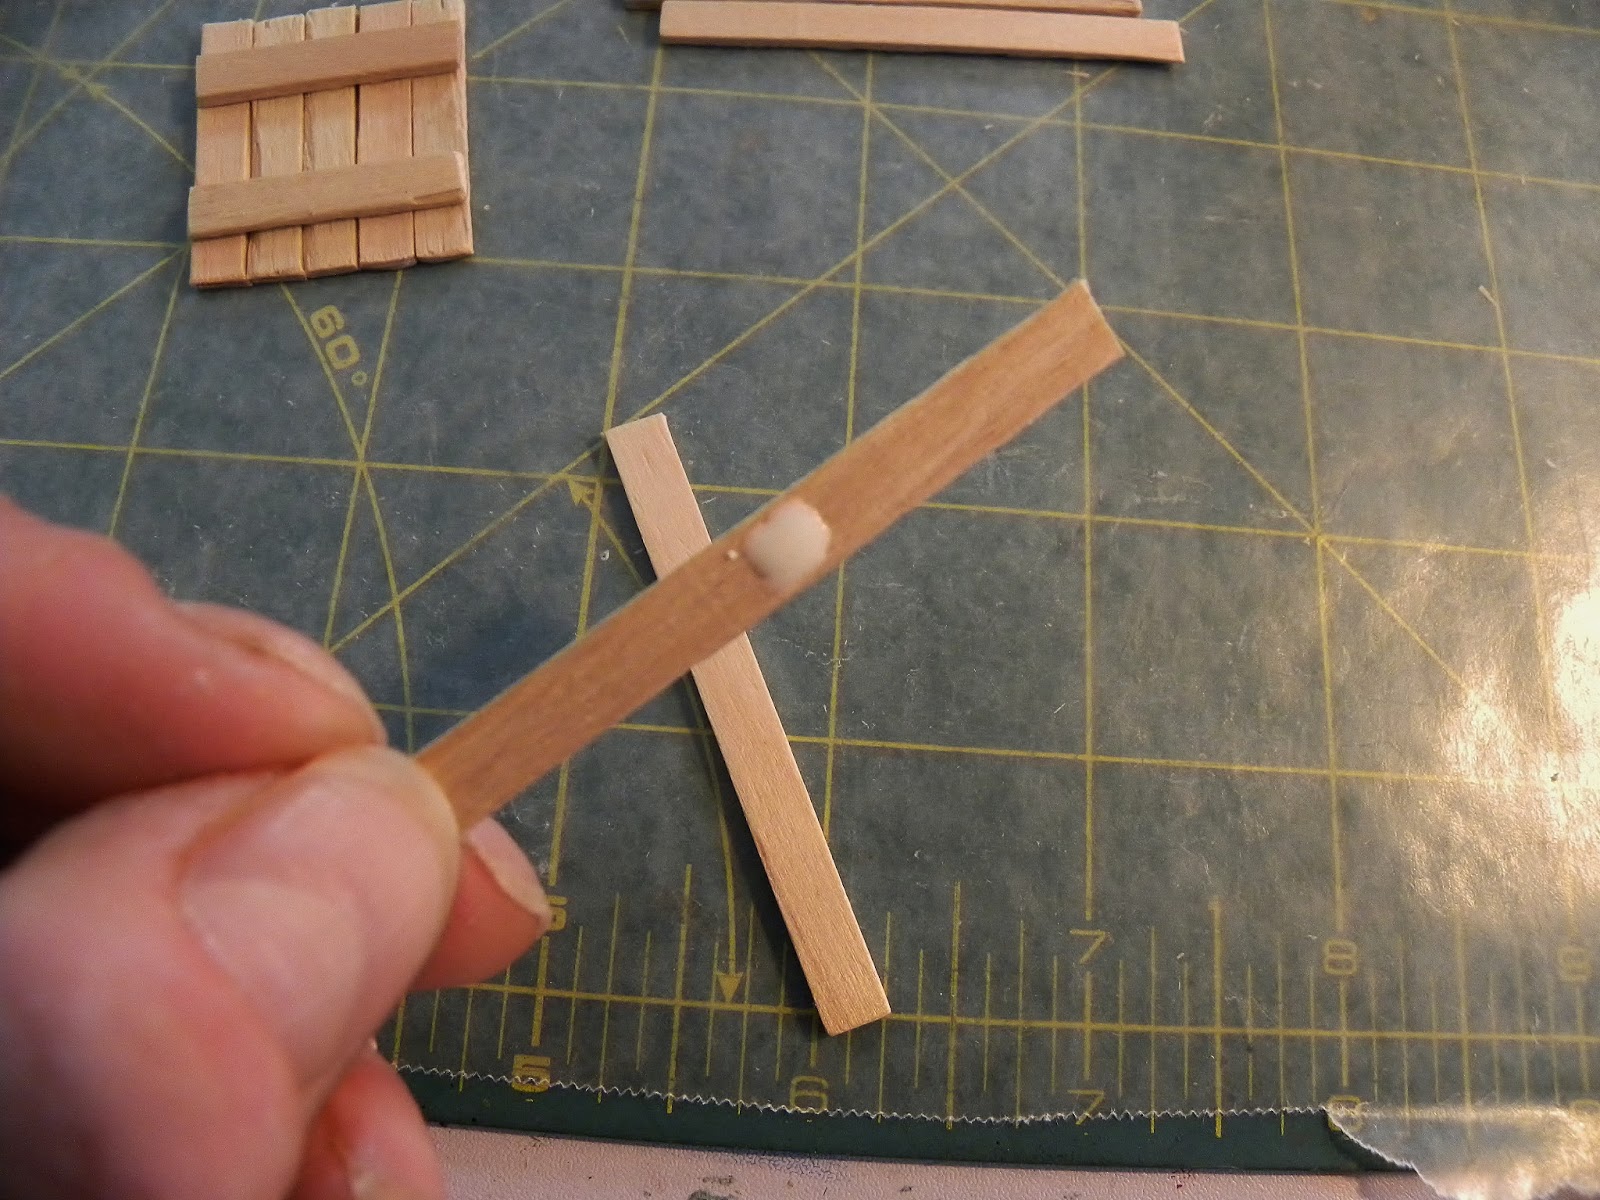
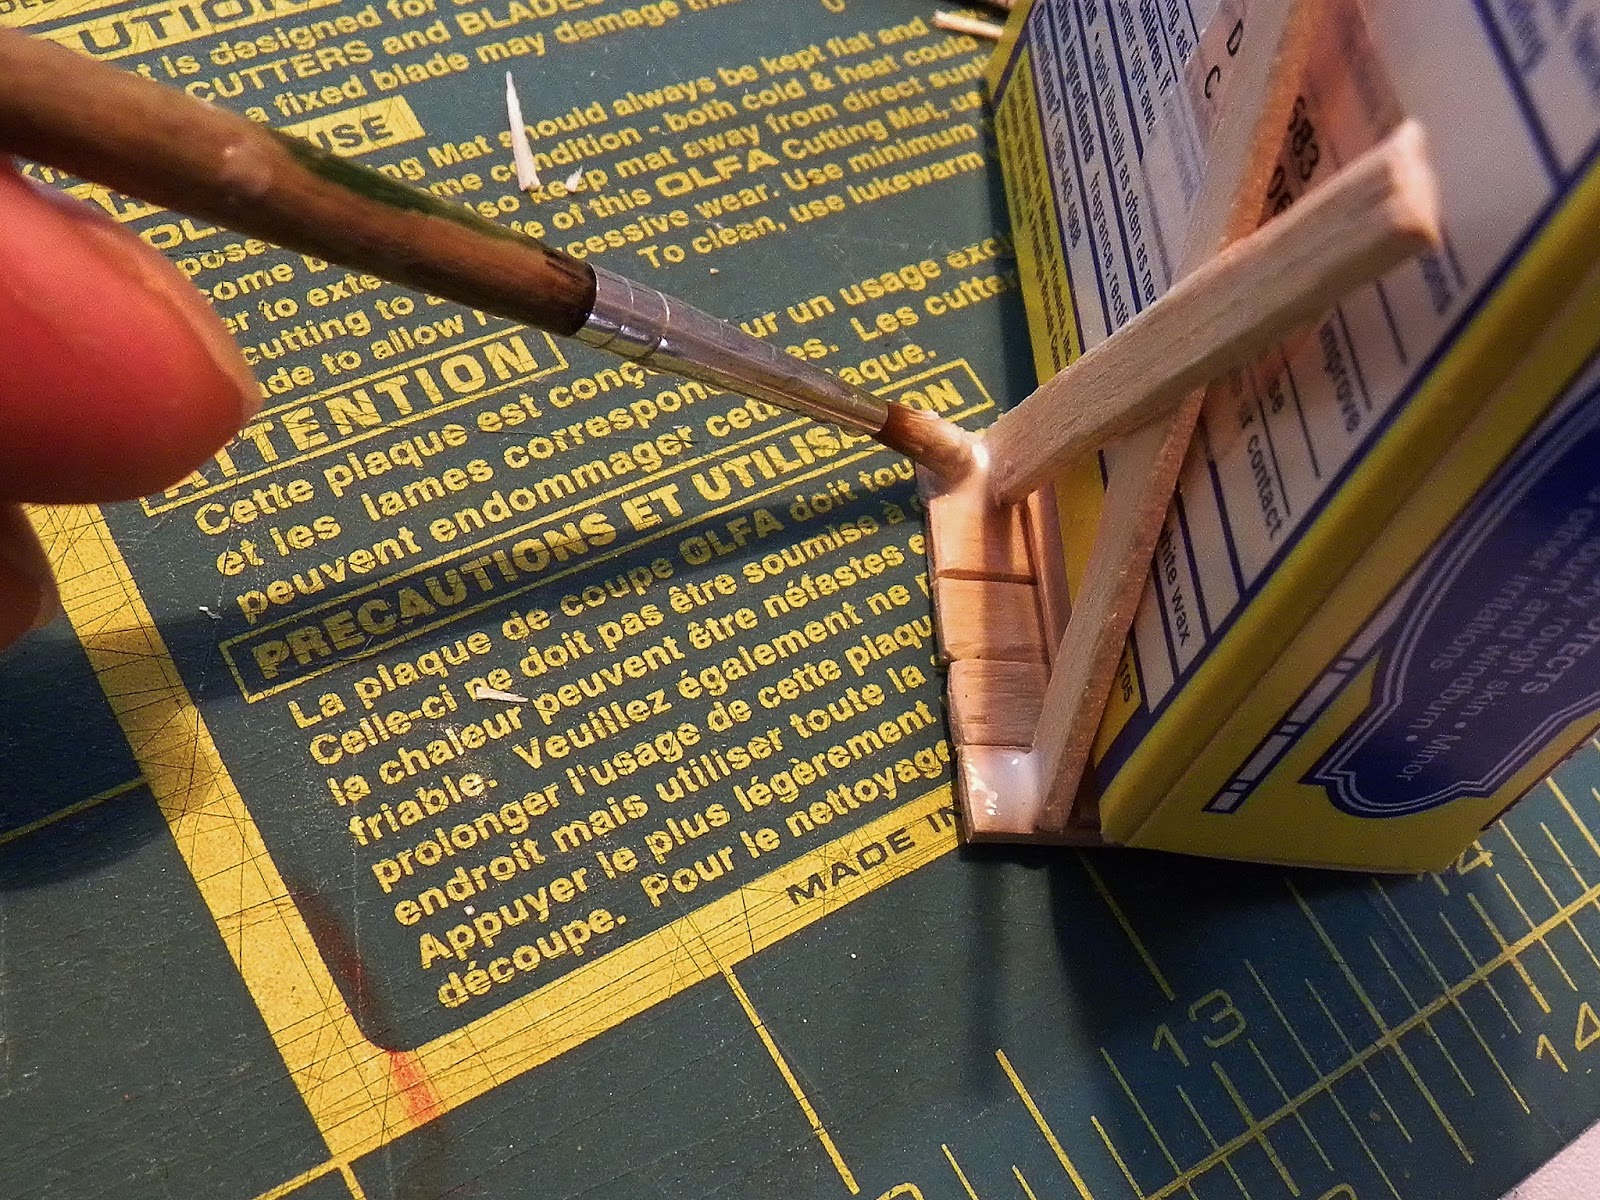
And so I say good day to you all! It is time to clean something and there's always that supper thing! Although I lost all the photos of the Picnic Table and Bench "How-To" in the hacker hub-bub, I plan to make an even better one this week! Stay tuned, Peace and Be Well!


Friday, March 29, 2013

Minature Paintings....some as small as a penny!!

Here are some of my paintings! 
I hope you enjoy them. I enjoyed making them.

Check us out for new "How-To" Instructions!

 We will be making a Picnic Table and Bench  with no fancy tools. Just simple materials, in this case Craft Sticks, Popsicle Sticks or even matchsticks and other items you probably already have in your home.


Try it! It's EASY and it is FREE!


Find us and "like" us through these links: 


Mare Resting-2012
Foal Grazing-2012

Curious Foal-2012


Jill-2012
Diane-2012
"What? Why did you say that?"-2012

Woman in Blue-2012

Leaping Appy-2012

Shih-Tzu Portrait Pendant Necklace-2012
Dog Portrait Pendant Necklace-2012
Puppy Portrait Pendant Necklace-2012
 
Cat Portrait Pendant Necklace-2012


Pet Portrait Pendant -2012
Leaping Ponies-2012
Pewter-2012
Tiny Still Life-2012
Miniature Child Portrait
Chestnut-2012
Folk Art Watercolor-2012
Miniature Collage-2012

Tuesday, March 26, 2013

New Miniature See-Saws!

Check out my new miniature See-Saws! 

They make me wish I were a tiny person! Each one matches the Swing Set, Sand Box and Patio Tables and Chairs. I have two different sets; one in deep red and midnight blue, or as I call it the "Schoolhouse Red" set and the Orange Plaid Seersucker that I use for the Patio Set umbrella. That one is really bright and cheery. 

They are 6" long and 1-1/2" wide at their widest point and the planks are 7/8" wide. The metal handles are carbon steel which I have notched and bent. All the joinery is strengthened by tiny pegs which I have inserted and fortified with wood glue. There's a pretty scroll design on them and you won't find them anywhere else. They are Wellstood Clarke Collectibles "artsyemmthecrafter" exclusive items made by me! They are signed and dated on the bottom as are all my pieces.

Schoolhouse Red Miniature See-Saw
White, Teal and Orange Miniature See-Saw


 You can find them for sale on Ebay through this link: 

 http://myworld.ebay.com/artsyemmythecrafter


You'll also find other listings, similar and not-so-similar!


Oh yes....and here's a link to Etsy: 


 https://www.etsy.com/shop/artsyemmythecrafter?ref=si_shop


Keep an eye out for this weeks How-To instructions. I'm not sure what it will be. Something fun and easy to make!


Friday, March 22, 2013

How To make a Wooden Dollhouse Side Table from simple materials you probably have in your home!

When I create anything, be it miniatures or full scale products, I have the advantage of tools, a workshop and a large stock of supplies.

I have saws and sanders, hammers and drills, clamps and clasps and vices, fasteners and connecters and odds and ends too numerous to mention. I have an extensive selection of paints, primers and finishes; brushes and all sorts of ribbons, notions, fabrics and glues. This gives me an advantage, but after all, it is what I do. I've collected art & craft items and tools for years and years.

So I got to thinking about those that do not have such a stock and store (and undoubtedly lack the clutter,) but still wish to create something without spending a large sum of money and a huge chunk of time on supplies and tools. So I've decided to post some "how-to" instructions for simple, inexpensive yet charming projects that you could make from materials you may already have or that are easy and inexpensive to buy. This first instructional "how-to" is for a miniature dollhouse side table, however, I expect to post other "how-to" instructions for full scale items as well.

I hope you enjoy this project. I think you will find it surprisingly simple to make and very rewarding when completed. 

These instructions are for adults. 

So here goes...Artsyemmythecrafter's first "How-to!"

FREE How-To Instructions for a Miniature Dollhouse Side Table

Miniature Dollhouse Side Table


For this project you will need:

  • Wax paper

  • 4 wooden craft sticks, (found in any craft store or craft department.) 5-3/4" X 1/4" (146 mm X 6 mm)-(See figure 1

    (Alternatively this project can be adapted to Popsicle or matchsticks as well.)

  • Wood or other white glue

  • A small pen knife or Xacto knife

  • Scissors or sharp side-cutting pliers

  • Fine grit sandpaper

  • Ruler

  • Heavy books or clamps

  • Acrylic paint

  • Acrylic clear coat finish, modge-podge, or polyurethane (optional)


    Figure 1

The first step is to cut the craft sticks to size. While I usually use a scroll or band saw for this job, we will cut these using a pen knife or Xacto knife to "score" the wood, and a sharp pair of scissors or side cutting pliers to make the actual cut. It is important to score the wood first because if you use only the scissors the wood often splinters.

Figure 2
Figure 3


Follow the instructions below to cut the craft sticks:

  •  Cut 5 pieces to 1-1/2"-these are for the table top

  • Cut 2 pieces to 1-1/4" these are for cross braces 

    for the table top

  • Cut 1 piece to 1"- this is for a cross brace 

    to strengthen the legs

  • Cut 4 pieces to 2-1/2"-these are for the legs


Measure five 1-1/2" pieces and make a mark for each. Score each mark solidly with your pen knife or Xacto, (fig 2.). There is no need to saw back and forth; simply press firmly. You are not trying to cut the wood, just make a mark where the blade of the scissors or pliers can rest when you make the cut. Be very careful when using these sharp utensils.

Next, nestle the blade of the scissors, or the cutting edge of the pliers, in the groove where you scored the craft stick and make your cuts. Be careful to make them as straight as possible. We want a 90 degree angle or as close to that as possible. Don't worry if it's not perfect. Nothing is perfect. Use the base of the shears near the handle if you are using scissors and WATCH YOUR FINGERS! If you are using the pliers, just make sure the craft stick is setting on the cutting area, or blade, of the pliers and not on the flat part that will crush the stick.

Now you should have something that looks like this:

Figure 4

Note, they are not perfect. Now you will need to sand them lightly to remove any burrs and straighten any crooked cuts as best you can. See figures 5 and 6.

Figure 5
Figure 6

Next, we will assemble the table top!

Lay out a small sheet of wax paper to protect your work surface and ensure any errant glue does not stick to anything. Look at each piece and determine which sides are smoothest and most aesthetically pleasing. You will apply glue to the edges and place the pieces with the best sides facing down. Using a small paintbrush, apply a thin coating of wood glue to the edges of the 1-1/2" pieces of craft stick you have cut. (Fig. 7) Lay them next to one another gently pressing them together. Use a ruler or straight edge to line them up. (Fig 7a.)Do not use too much glue. It will seep out underneath and make an awful mess. Just a thin layer will do as you will brace up the top later. 

Figure 7


Figure 7a

Allow the glue to dry for a while. Since we didn't use too much glue 10 minutes or so will do. At this point simply slide the edge of your knife under the edge of all 5 pieces and flip the table top over being careful not to stress the glued areas. 

Now we will glue the braces on the bottom of the table top. This will not only stiffen the top but act as a glue point for the legs.

Figure 8

Apply a thin coating of glue to the first brace. Measure 1/4" from the edge, draw a faint line to mark this line and set the brace across the table top as depicted in figure 8. Do the same with the other brace on the other side. You will have something that looks like this:

Figure 9

Allow the glue to dry well. When dry, sand the edges as smooth and square as possible. (Fig 10)

Figure 10

While the table top dries, make the legs:

First, we have to glue them together. Using your brush, add a dab of glue to the center of one of the 2-1/2" leg pieces. (Fig. 11) Set one atop the other with the glue side facing inward and gently arrange the two pieces into an X shape. Measure 1-1/4" from the outside corner of each piece as seen figure 12.

Figure 11
Figure 12

Figure 13

When both legs are glued, you should have something like Fig. 13

Allow the legs to dry well. Once they are dry and very strong we will have to "square up" the tops and bottoms so they sit flat. Simply draw a line from one corner straight across as seen in the photo, Fig 15.

Figure 14


Figure 15

Score and cut the leg that lies on the work surface. Cut it carefully so as not to disengage the other leg. Figure 14 shows each leg marked on the front side. I found it best to mark the top leg on the backside and turn it around to cut it straight. This will alleviate the risk of applying undue pressure on the opposite leg with the scissors.

When you are finished, you should have this!

Figure 16

One table top and two crossed legs that are flat at the top and bottom. Mark each leg at the center of the X. Later, you will attach a brace at these points. (Sorry. These marks are not depicted but they are very important so don't forget.) 

Now to assemble the table!


First, sand the legs. See Figures 17 & 18.

Figure 17
Figure 18


Now, I mentioned before, I was creating this project with a minimum of tools. Here I would normally have used thicker stock and I would now drill holes and attach the legs using wooden pegs. We do not have that option so we will use whatever we can find to get the job done. Instead of clamps or pegs we will employ books to hold our table in place! (No, I'm afraid a Kindle simply will not do!)

Apply a dab of glue at each end of the braces on the bottom of the table in such a manner as to catch both the brace and the table bottom. This is where the legs will attach. See Figure 19.

Figure 19

Apply a dab of glue to the bottom of each leg and allow the glue on both the table and the legs to dry slightly before attaching the legs. This will ensure a faster bond. Find a book or an object a little less than 1" wide that can stand between the table legs. Attach the legs to the glue points allowing them to tilt inward on the book or object and allow the glue to stiffen well but not completely.

Figure 20
Figure 21
  

Cradle the table top between 2 DVD covers or 2 objects of the same thickness. This will hold the table top in place. Place one heavy book on each DVD cover and remove the book or object that lies between the table legs. (Fig. 22) Now you will attach the last brace at the place that you marked previously.

Figure 22

Dab each end of the brace into the glue. Wait a minute or 2 for the glue to thicken and then place the brace on the previously marked legs. Gently press the books together to hold it steady. Adjust it if need be so it is straight and square. Dab some additional glue at any and all glue points. (Figs 23 & 24)

Let the glue dry completely before removing the books. 

Figure 23

Figure 24